Next Saturday, I am hosting a Christmas party for a couple of my friends that I haven't seen in a long time so I needed to start cranking out some decor projects!
I decided to go with the colors of gold, silver, pink, and blue hues with lots of sparkle! You can't have a Christmas party without sparkle right? lol
Anyway, here's a DIY centerpiece that I made for the party and I'm going to share this tutorial with you!
What you need:
*a bucket or pot (I got this silver glitter one from the 99 cent store!)
*a stick!
*gold paint (or any other color you want)
*sparkle paint (optional)
*rocks
*decor for your branches
First, choose your weapon branch and make it a good one!
 Make sure it's the right height and what-not when it's placed in your bucket. You may have to take some more branches off or shorten it to make it just what you want.
Once you have the "perfect branch," start painting or spray painting the branches gold.
 After you are done painting, let the branches dry and gather up all your rocks that will go in the bucket to stand the branch up. You will only need to paint about 2 handfulls of rocks since these will be the ones on top and you won't see the others below them. I painted my rocks gold and added some gold sparkle (I love sparkle if you couldn't tell already).
  After all of the rocks that you want painted are complete, you can start placing the unpainted rocks in the bucket around the branch to support it. Then, layer the top with the painted rocks once they are dry. You want to make sure that all of the rocks make the branch secure and hold it in place so that it doesn't tip over once you start adding decor to it.
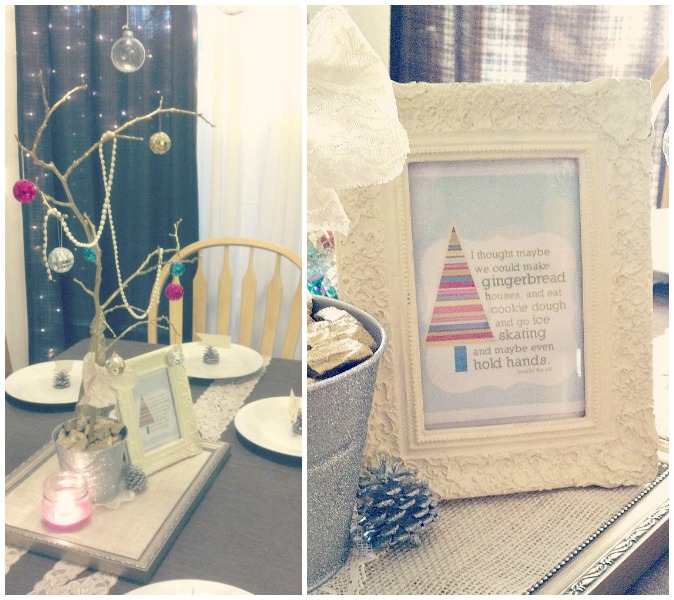
Finally, decorate your little tree with whatever you would like!
I bought these mini mosaic-like ornaments from the 99 cent store last night (9 for $1!) so I added a few of these, hung some pearl trimming, and tied a little lace bow around the branch.


 To add to my centerpiece, I placed it on an old frame which I put ivory burlap in and added a bit of decor twigs around it to keep it simple.
 I'm not sure if I will keep it all this way for the party but you get the idea of different decor.
There are so many other ways to decorate as well!
What about chiffon pom poms? Accordian wheels made of book pages? Beads? Crystals? Hang names for everyone to choose their secret santa? Hang "thankful notes?" The list of ideas can go on and on! How would you decorate your mini tree? :)