The BIGGEST leap of faith.

I just made one of the biggest decisions in my 23 years of living. I feel quite liberated actually! I have made the choice to leave nursing school. Yes, I am now a "nursing school drop-out"! Not because I can't do it (I know I can) but because I know there is another path for me.

I have shed tears due to stress, confusion, happiness, and sadness.
I missed being at home with my husband and my son.
I missed my shop.
I missed being creative.
I missed daydreaming of new ideas.
I missed seeing my friends.
I missed not being stressed out 24/7.
I used to think that doing what I loved to do should only be a hobby-otherwise it would lose all of it's value.
I used to think that if I left nursing school, I would regret all of the time and hard work I put into it.
I used to think that I was superwoman and I could handle having a full plate.
I used to think that it would get easier if I just stayed.
 
I believe that God doesn't waste our experiences and I don't regret going through the schooling that I have and dedicating my time to it. Nursing will always have a positive impact on my life.
 
I have met some amazing, life-long friends along the way.
I have learned to listen and not just hear.
I have learned about the power of healing by touch and just holding someone's hand.
I have learned that no matter how great you are at technical skills, the ability to have a positive impact on someone's attitude matters most.
I have prayed with a complete stranger and continue to pray for her.
I have seen depressed people smile.
I realized that God places people in your life for a reason, whether it's for a short period of time or much longer.
I have seen how technology can play a huge role in healing.
I have seen inside of the human body and the intricate anatomy that we don't get to see on a regular basis.
I overcame my fear of handling needles.
I learned what being an advocate really means.
I also learned that although I love making others feel better, I don't need an RN license to do that.
It was hard to fight off feelings that there was something else that I was created to do while I tried my best to study and read and finish care plans and make drug cards. I am fortunate enough to have a choice in what I want to do for the rest of my life and not what I have to do.
I am grateful for my supporting husband, family, and friends.
This decision will be one that I will forever look at as a {life changing experience} and I feel at peace with my decision. My priorities right now is my family and expanding my creativity (maybe even a visit to NY? :)
I have several projects underway and I will be opening my shop again soon.
Right now, it's time for a breather and a bit of relaxation.
 

  • Digg
  • Del.icio.us
  • StumbleUpon
  • Reddit
  • RSS

{DIY infinity scarf with buttons}


Ready to get crafty?! With the fall season upon us (some places more than others), scarves are ready to be used and cozied up with. So, to add to the scarf collection, we will make an infinity scarf!
What you will need:
*2 yards of fabric-try to find a soft fabric that isn't too "floppy" so you can have a bit of shape and structure to your scarf. You know what I do? I frolick down the aisles (yes, frolick!) and I feel all of the fabrics and play with them to see how they would work as a scarf. So go ahead! I found my fabric in the clearance section (whoop! whoop!)
*scissors-make sure they are sharp!
*cutting mat with measurements, ruler, or tape measure-so you know your lengths and widths.
*thread-preferably the same colors as the fabric you are using. I don't have coral thread so I'm just going to use white.
*a needle
*a sewing machine-if you don't have one, it will take quite a bit of time to hand sew.
*buttons! Pick a couple different ones or keep them the same. Whatever you like!

To get started, fold your 2 yards of fabric in half the long way if it isn't already.
From the folded end, cut your fabric 7" away from that end. This will be the width of your fabric.

(if you unfold the fabric, it should be 14" total but you will keep the fabric folded so that it measures 7" if this makes sense?)
 Make sure that you cut a straight line and you keep it 7" in width all the way up when you cut.

Once the fabric is cut, you should have a strip of fabric that's 72" (2 yards) in length and 7" in width since it's folded. You can save the rest of the fabric for other scarves or whatever you'd like.

Now, get your buttons and place them in the arrangement that you would like about 1" from one of the ends.

You want to place them with the idea in mind that you will be sewing the open end about 1/2" from the end.


Once you have your buttons in the places you would like them, start sewing them down. Remember, only sew them to the top layer of fabric.
Got your buttons in place? Ok good!
Now if you have seen some of my scarves before, you know that I love adding detail like lace, ruffles, appliques, even doilies! For this scarf, I'm keeping it pretty simple with the buttons as my accent. If you have your detail that you want to add to the scarf, you can add it about about 18" or so from either of the ends...or wherever else you prefer.
 
When all the buttons and accents (if you prefer) are in place, you can now fold your fabric the opposite way so that it's inside out and start pinning the open sides together like shown below.
Now it's time to sew the open sides together (this DOES NOT include the two ends-just the 72" length of the side). Sew about 1/2" from the end. I like to use a zig zag setting for a little extra durability. I used a "3" zig-zag pattern for my scarf.
Once you have sewn the entire length of the scarf and tied off your ends of thread, it's time to turn the entire scarf inside out. The easiest way for me is to stick my whole arm through, grab the end and pull it all through.
Now we shall sew both ends of the scarf. Start by folding each end of the scarf about 1/2" inward (into the inside of the scarf) & pin. Try making the ends as straight across as possible. It's easier to use a straight edge or line for guidance on this.
Next, sew the edges together about 1/4" from the end. I used a "7" stich pattern for the ends of my scarf. 

After you have sewn both ends, lay your scarf out and and fold the ends on top of one another so you can get an idea of where you will cut your holes for your buttons to go through.

Once you have figured out where you want to cut your holes (by feeling where the buttons are underneath the fabric), start cutting small slits in the end of the scarf that will overlap your buttons. Be sure to cut the slits very small because most fabrics will stretch and you don't want the holes to be too big for the buttons.
 
After you have all of your holes and the buttons fit snuggly through them, you can take your needle and thread and stitch the edges of the holes if you'd like for a cleaner look and add some Fray Check so the fabric doesn't fray or become thready at the sites you've cut.

& Voila!
Your infinity scarf is all done!! With this type, you can wear it several ways buttoned or unbuttoned as well as wrapped around you up to 3 times. With my fabric, I liked it wrapped 3 times.
{Enjoy you new scarf this season!}
five days five ways | because every day is different

  • Digg
  • Del.icio.us
  • StumbleUpon
  • Reddit
  • RSS

A tid bit into the life of a nursing student...& what I {miss}

This is the first time in a long time that I have logged into my blog.
So sad! I really miss it!
I miss posting.
I miss browsing my favorite blogs.
I miss meeting and talking with fellow bloggers/crafters.
I miss crafting.
I miss my shop.

If you don't know, I am a nursing student now with a full schedule and no time to do all of these things that I miss so dearly. I had to get on here though and vent to let some thoughts out.
As I browsed through my favorite blogs, I feel like I have missed so much going on!
(Whether that's true or not-that's how I feel)
Don't get me wrong, I have had some really awesome experiences since starting nursing school
{seriously}
 but most of my time is spent in the books.
Here are some photos of my life as a nursing student lately...
{Injection day!}


{first day of clinicals}


{getting those community service hours done}


{Oh those care plans!}


{Watching some Project Runway-my "me time" after clinicals}


{Downing that coffee}

 
{clinicals}


{This is why nursing students gain so much weight!}


{my home on fridays}


{If I could, I would stick an IV of caffiene in myself!}

Just a tid bit into my current life.
I withheld the photos of the study material because that can give anyone a headache!
Don't forget I'm a wife and a mommy as well.
Whew!
It can be done though.
:D

Hopefully I can get back to my shop, my blog, and the crafting soon.

Are any of you in a similar boat as me or miss something that you have had to put off for something else?

  • Digg
  • Del.icio.us
  • StumbleUpon
  • Reddit
  • RSS

Back to school DIY {cute} bookmark ideas!

I started my "back to school" week last week. I have been reading throughout the summer for this semester though-so it feels as if I started a lot longer ago. With my readings consisting of a bunch of nursing books and pages and pages of syllabi, page markers and bookmarkers are such a necessity!
Here are some really cute and simple ideas to get your pages marked using paper clips! :)

DIY tutorial here

DIY tutorial here

Tie ribbons to paper clips!
I have created a few of these myself. Super easy and super cute!
Purchase some of these here from Midnite Scrapper

DIY tutorial here

DIY tutorial here

Who knew you could dress up a paper clip in so many ways?
:)
What are some of your "back to school" necessities?

  • Digg
  • Del.icio.us
  • StumbleUpon
  • Reddit
  • RSS

Light vs Dark styled photoshoot featuring accessories from Love Sparkle Pretty.

I was recently asked to create some accessories for a photoshoot with the theme of feathers and "Light vs Dark." My friend Kayla of Kayla V Photography is the mastermind behind these beautiful photos! I love how this concept turned out and 
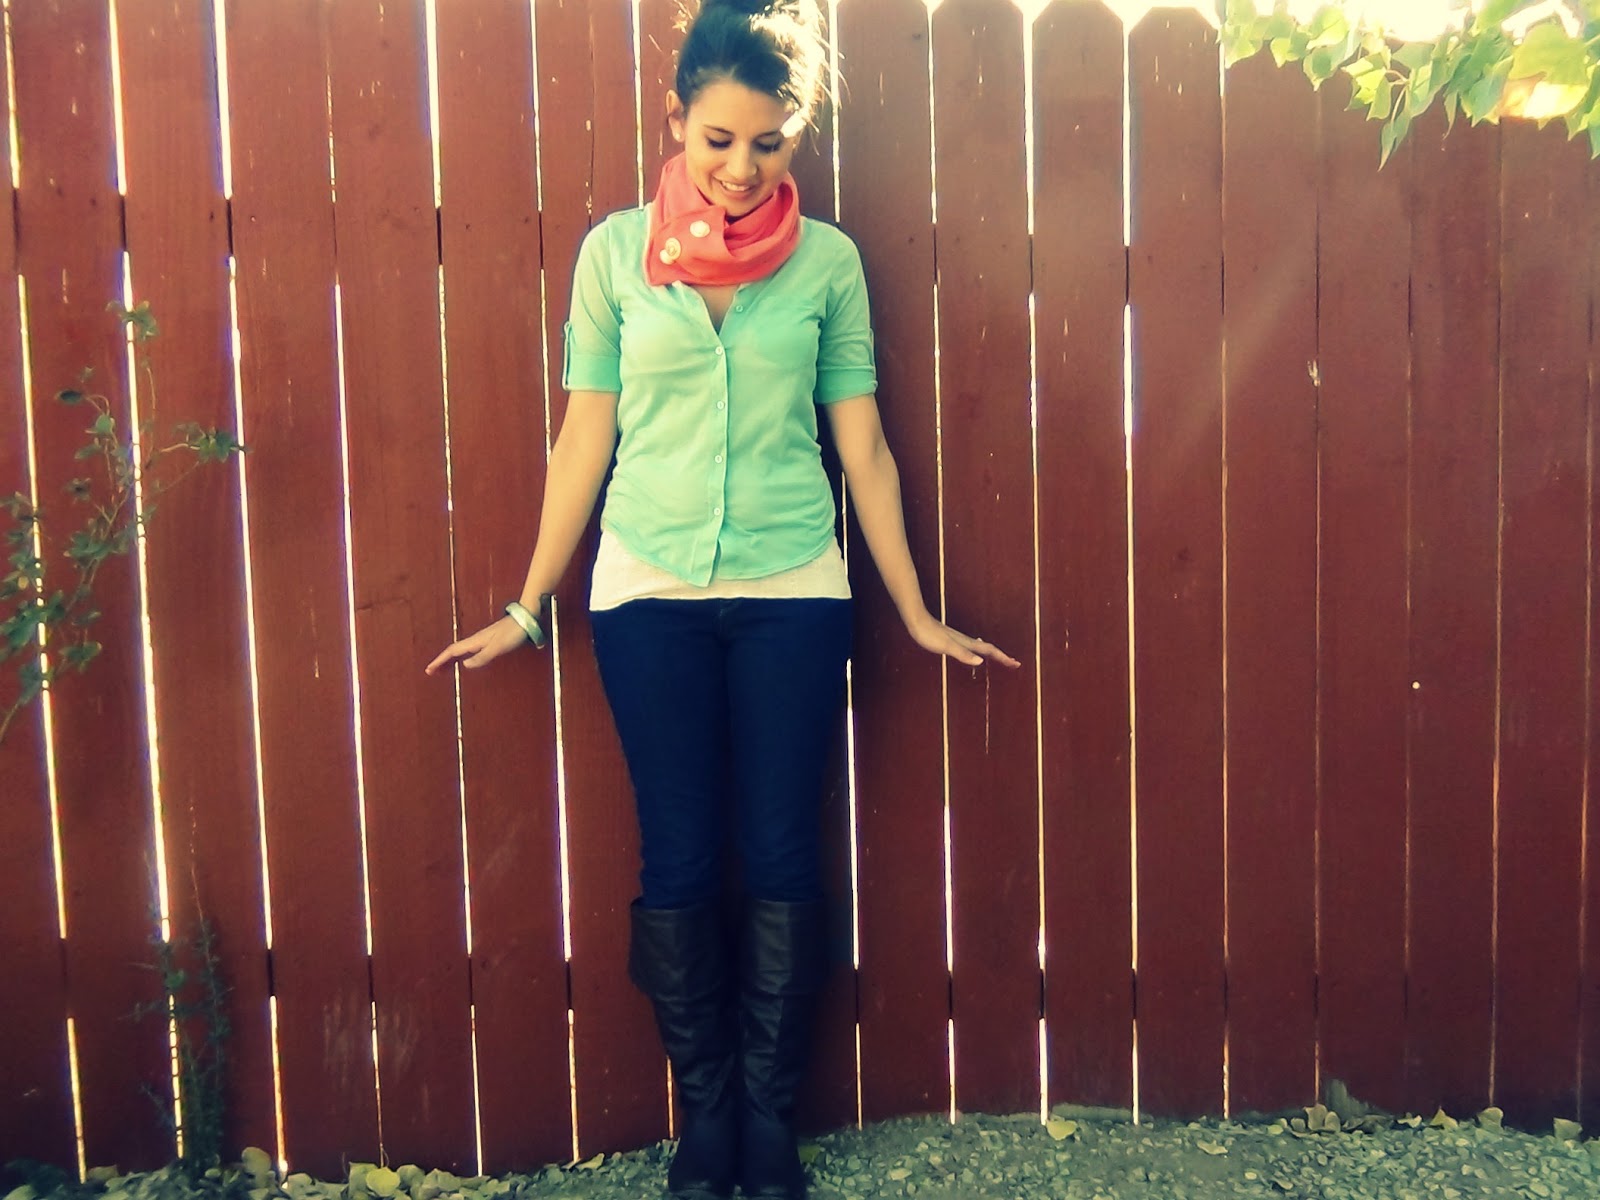
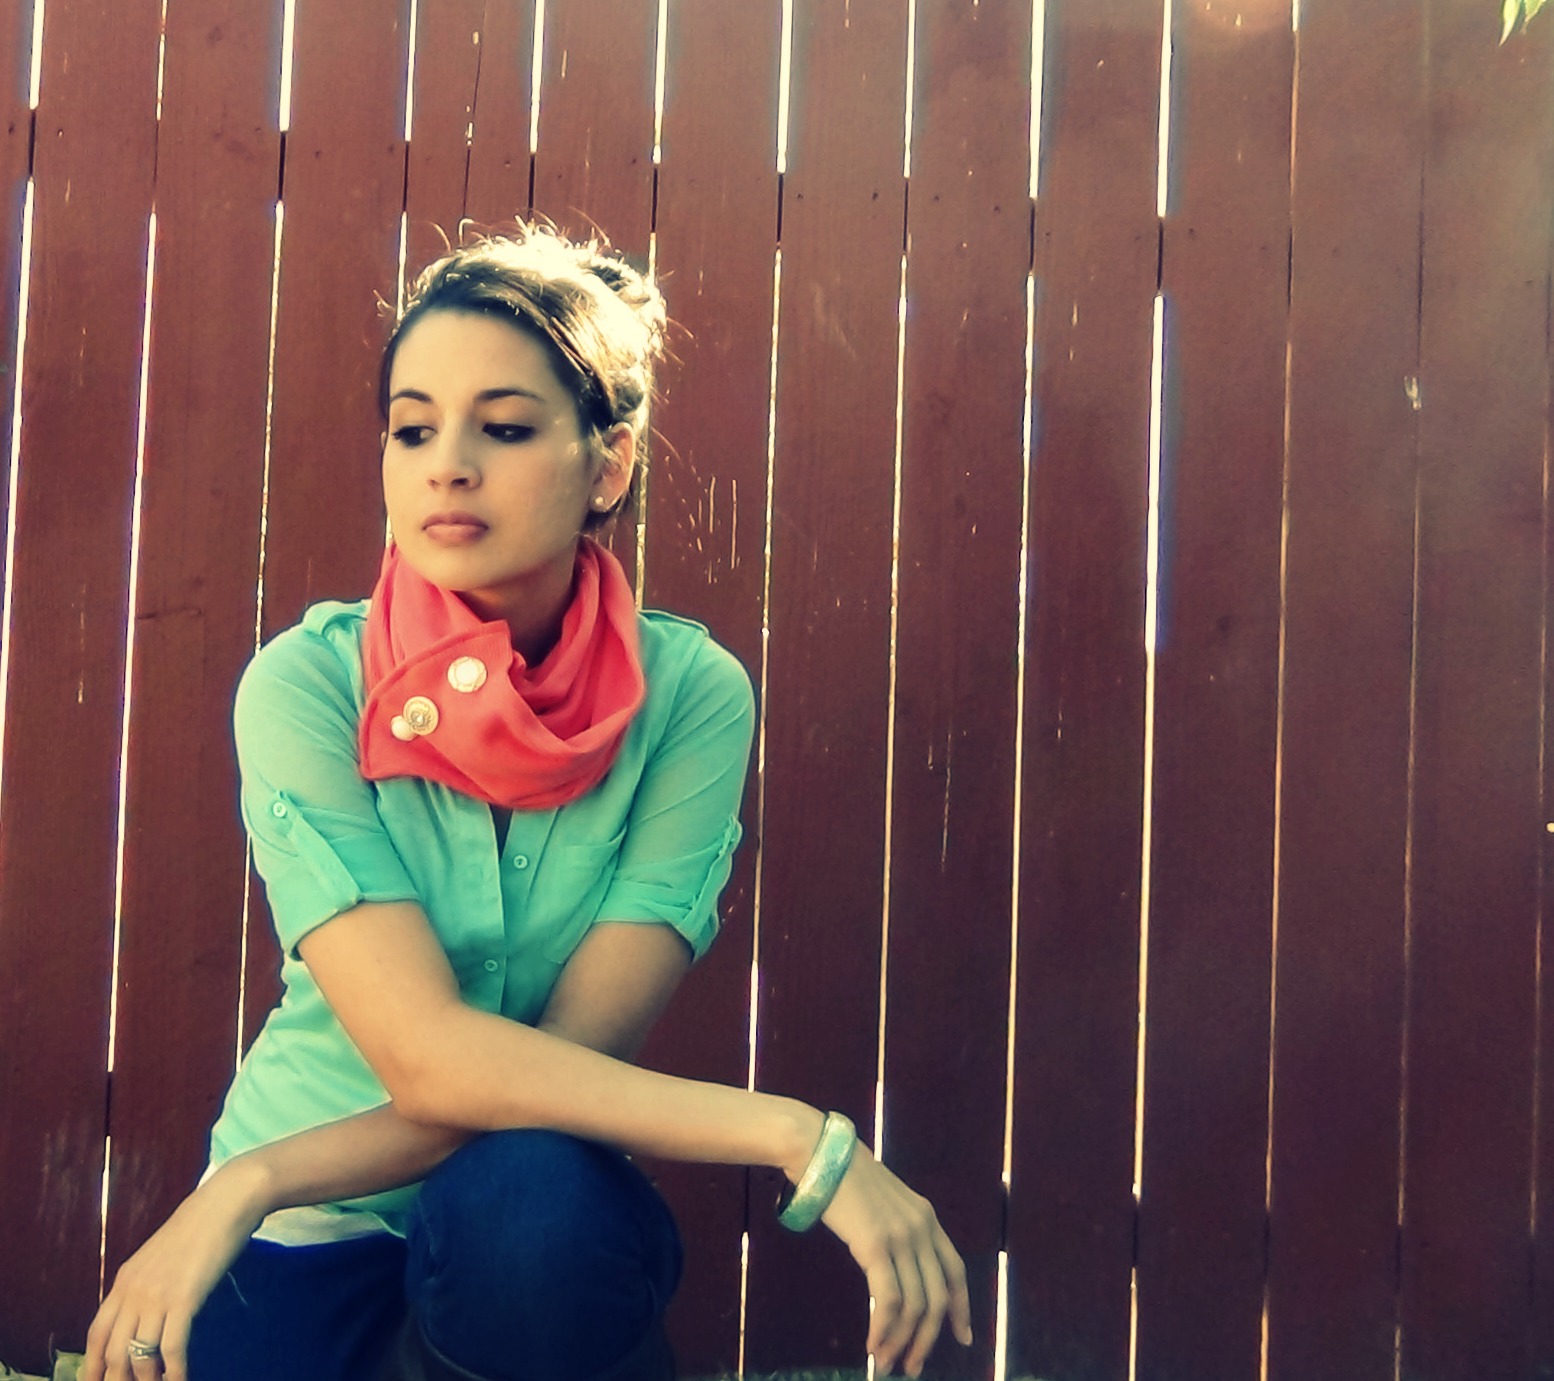
Amanda Child was the perfect model for this look and Melanie Honeyblossom did an amazing job with the makeup!
I had so much fun creating pieces with feathers and using other items such as vintage buttons for the rings. :) All accessories but the white headband were handmade in my craft room and I'm so happy to see them in these awesome photos!
Take a look & ENJOY!
{Leave some love if you will}

Photography Credit: Kayla V Photography <--Click to see more from this shoot!
Headpieces, Earrings & Rings: Love Sparkle Pretty
Makeup Credit: Melanie Honeyblossom

{Have a beautiful day!}

  • Digg
  • Del.icio.us
  • StumbleUpon
  • Reddit
  • RSS