Now, time to take my shop off "vacation," run to the supply store, work on LOTS of pretties (watch the Bachelorette while I'm at it) and organize some chaos.
This super fun and relaxing weekend will be up on the blog soon!


If you follow me on Instagram, you may have noticed a certain little seashell headpiece I have been working on for a styled photo shoot. That shoot has finally happened and it was AMAZING! Kayla of Kayla V Photography, contacted me a while back with a bit of inspiration. When I heard that the idea behind this next shoot will be Shipwrecked, I was totally on board (no pun intended)!
After a few postponed dates and a couple changes/cancellations, we did what we could to make this happen! Courtney Barnum was the perfect model, Melanie HoneyBlossom worked her magic with her makeup brushes and thanks to Samantha, we found the perfect locations. Not only did everything come together beautifully but it was such a great day to have a little mountain adventure with 5 creative girls.
.jpg)
.jpg)

.jpg)
.jpg)
.jpg)

.jpg)
.jpg)
.jpg)
.jpg)
.jpg)
.jpg)
.jpg)
.jpg)


The past few days after leaving the hospital from baby Blayze's birth, I've had the stomach flu. I first thought it was food poisoning from the hospital's cafeteria but after my husband came down with it only a few hours after being home, I knew differently. Needless to say, I was in bed all weekend and got a bit behind on a few things.
I am now feeling fully recovered and have been able to knock out quite a bit of things-like a new mani! Here's to nap time manicures with quick drying polish! I am loving the nude color. Simple, natural and hey, it goes with everything!


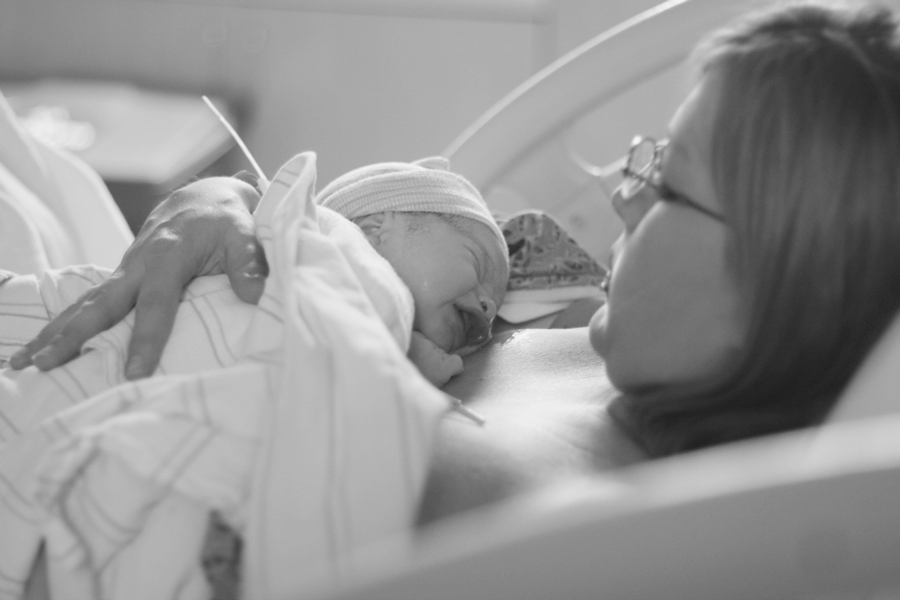
About a month ago, I threw a minion themed baby shower for a friend of mine who was pregnant with a little boy they named Blayze.
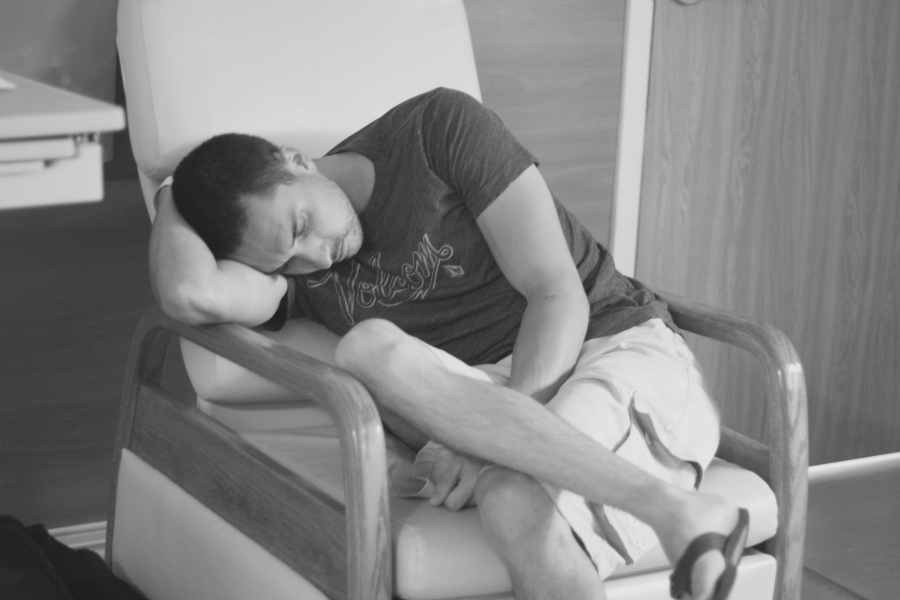
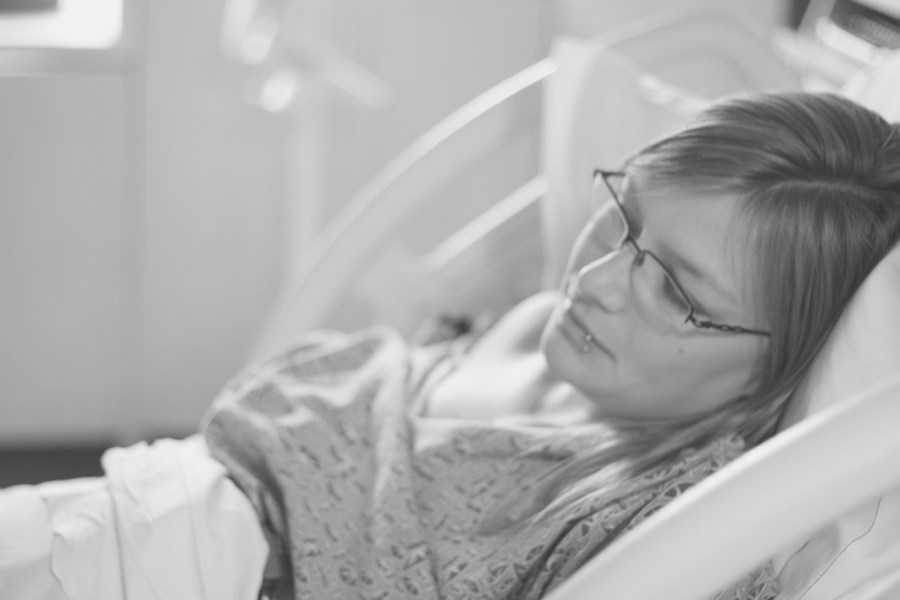
On the night of July 12, they went into the hospital after contractions started to increase and labor was in full swing. After dropping my son off with my mom and the husband off at work, I picked up Del Taco and headed straight to the hospital to await this little man. Since Jessica had dilated to a 7 before I arrived, I thought for sure she'd give birth within a couple hours but after getting the epidural, it turned into a long night but a peaceful one for mommy to be.
Here is their story.